
Whether you’re a Bluebeam beginner or a seasoned expert, we all have gaps in our knowledge. Tuesday Tidbits will help you fill in those gaps. Every Tuesday, I’ll teach you simple techniques that you can learn in under 10 minutes and implement immediately to improve your workflow.
Intro
Let’s say you have two drawings and you want to compare them. How would you normally do that? If your answer isn’t to use the Overlay Pages ![]() feature in Bluebeam, you’re missing out.
feature in Bluebeam, you’re missing out.
This feature is similar to the Compare Documents ![]() feature, except with Overlay Pages
feature, except with Overlay Pages ![]() you can actually see both drawings at the same time. Personally, this is why I prefer the overlay. It’s really easy to see what changed between the two documents without playing I Spy for 20 minutes.
you can actually see both drawings at the same time. Personally, this is why I prefer the overlay. It’s really easy to see what changed between the two documents without playing I Spy for 20 minutes.
Overlay Pages
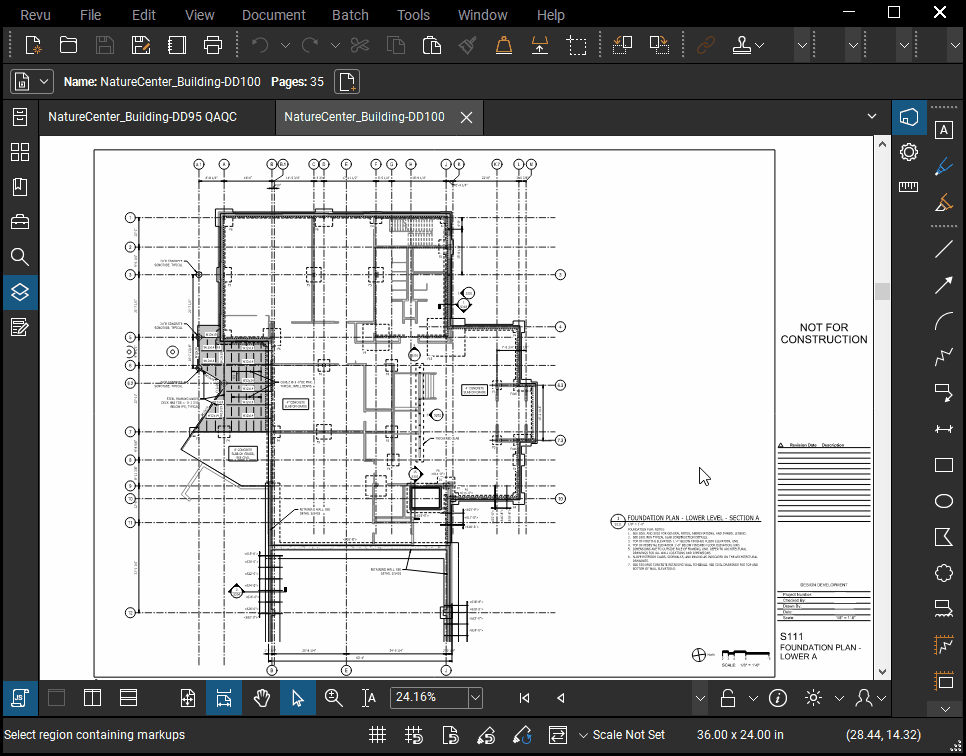
The premise is simple: Go to Document (or Batch) → Overlay Pages ![]() .
.
The trickier part is if your drawings shifted at all. You’ll know right away if that’s the case. After you overlay the pages, they’ll look like one of those green and red “3D” drawings from the decades long passed. To fix this, use the Align Points button in the Overlay Pages popup box.
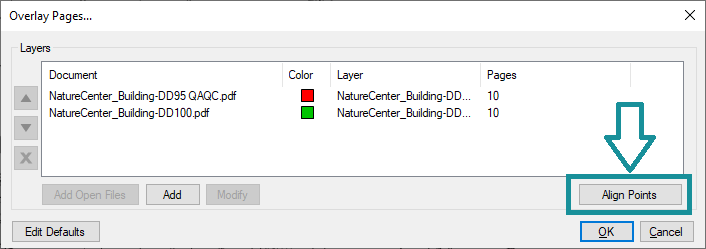
You’ll need to select 3 points of reference for each document, being sure to select the points in the same order. A tip to really make sure you’re selecting the same point is to turn on Snap to Content ![]() before starting (see my post at this link if you’re not sure where to find it). Once you select the points on the first document, you’ll see them numbered in gray on the second document as a reference.
before starting (see my post at this link if you’re not sure where to find it). Once you select the points on the first document, you’ll see them numbered in gray on the second document as a reference.
Aligning points can become tedious if multiple sheets on multiple documents have shifted even a little bit. If you plan on using Overlay Pages ![]() in the future, make sure to communicate to the people creating your drawings that you’d like to keep viewports where they are to make overlaying/comparing easier down the road.
in the future, make sure to communicate to the people creating your drawings that you’d like to keep viewports where they are to make overlaying/comparing easier down the road.
When the whole process is done, you’d have a new PDF. The original documents/drawings will be converted to different colored layers stacked on top of each other. The stacked colors will blend to create a darker color, and the differences will pop out because they’ll be red or green or whatever colors you chose.
Conclusion
In particular, I find this feature really helpful when clients send me an updated PDF. Sometimes I’m lucky enough that they send me a list of changes, but even if they do, sometimes those lists aren’t comprehensive. Overlay Pages ![]() really helps catch anything that changed, big or small, so that you’re not missing anything from set to set.
really helps catch anything that changed, big or small, so that you’re not missing anything from set to set.
How else can you use this feature in your job? Let me know in the comments or on social media!