
Whether you’re a Bluebeam beginner or a seasoned expert, we all have gaps in our knowledge. Tuesday Tidbits will help you fill in those gaps. Every Tuesday, I’ll teach you simple techniques that you can learn in under 10 minutes and implement immediately to improve your workflow.
Intro
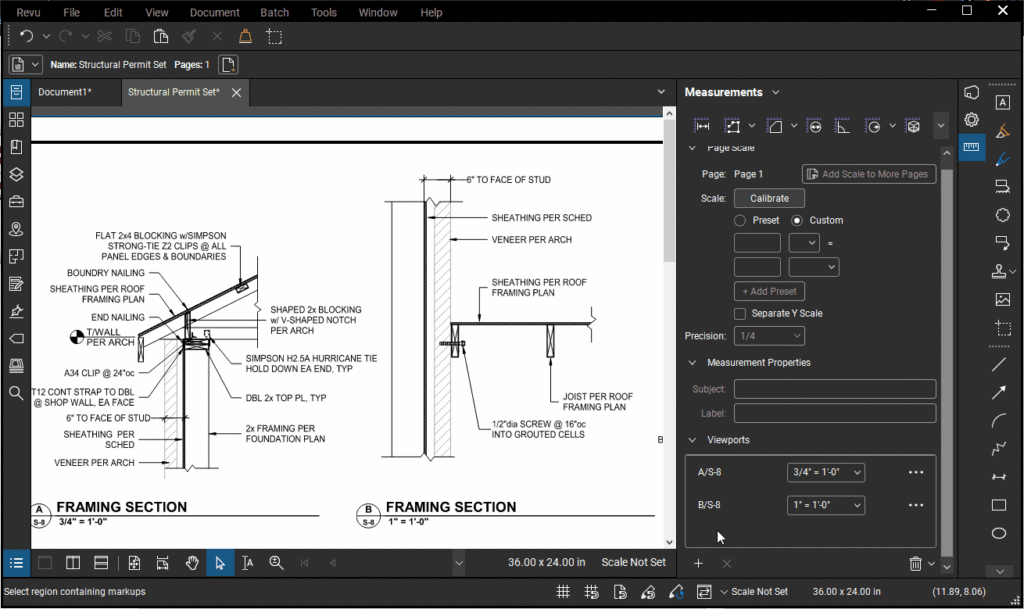
In Bluebeam, not only can you set the scale for an entire page, but you can also set multiple scales on a single page (called viewports). And, once a scale is set, you can measure (obviously) and create markups to scale.
And now a very rare Liz story time. I once had to do an architectural/structural survey of an existing building and all we had was a PDF of an old architectural set. The exterior walls were the same, but about 50% of the interior walls didn’t match the drawings we had. Thankfully, I was already using Bluebeam on our Surface Pro tablet to do the survey. I set a page scale based on existing measurements and was able to draw in the current walls to scale over top the existing drawings. I didn’t have to guess or eyeball where these walls were on plan. And I’m super grateful I didn’t have to get out paper and a scale ruler like a frickin’ caveperson, because that would’ve taken forever.
Going forward in this post, all instructions and screenshots are for Bluebeam 2019 and later. If you need instructions for earlier versions, I recommend checking the Bluebeam support page and choosing the version you need.
Setting the Scale
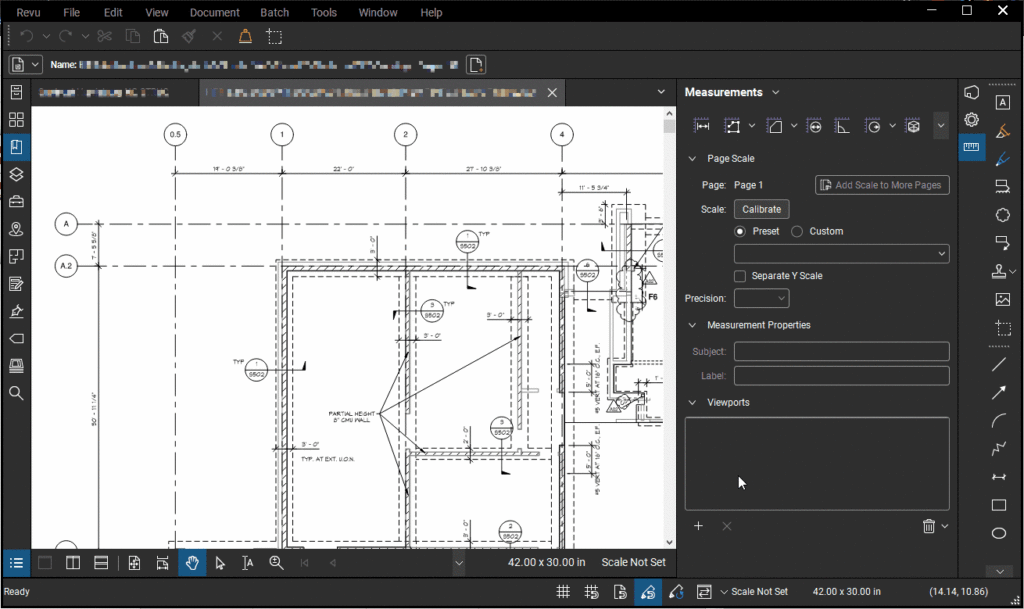
Scale the Entire Page
To set a scale for an entire page, click the Measurements icon ![]() . From there, you can choose to set a preset scale (like ¾”=1’-0”) or a custom scale, and you can choose the measurement precision.
. From there, you can choose to set a preset scale (like ¾”=1’-0”) or a custom scale, and you can choose the measurement precision.
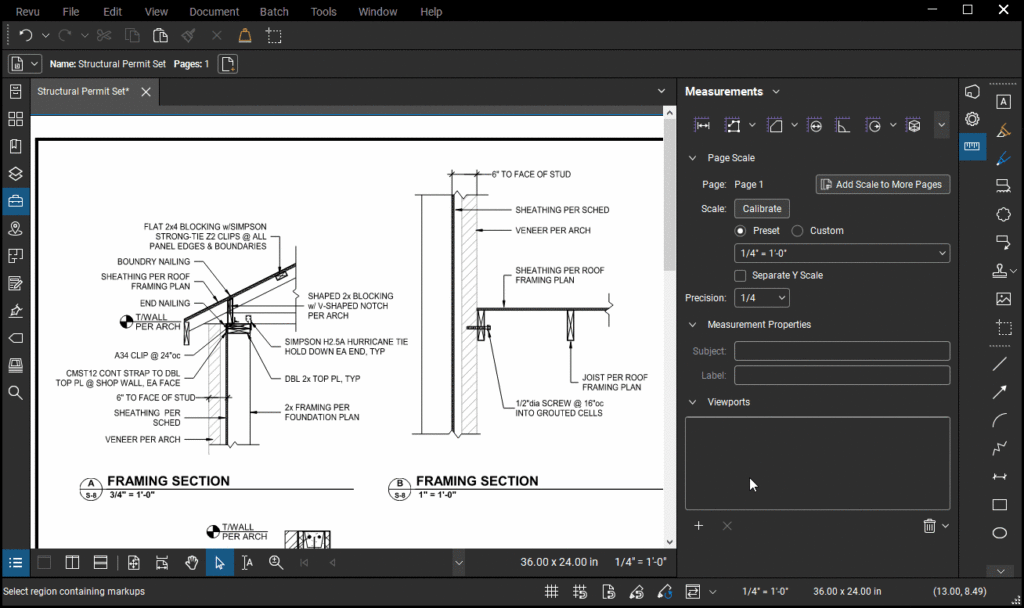
If your drawing came from Revit or AutoCAD, the preset scales are pretty reliable.
If your drawing is scanned, or if it doesn’t have a scale listed, you can calibrate a custom scale.
- Click Custom.
- Click Calibrate.
- Choose two points on the drawing where you know the distance.
- For drawings from Revit or AutoCAD, your cursor should snap to lines/points on plan to make it easier to precisely specify your distance.
- For scanned drawings, I recommend using the largest distance you have available to you on plan. Since you have to eyeball it, the larger the distance you use, the smaller the margin of error.
- The text you need to change is already selected, so do not click in any other boxes. Just type the dimension you measured on plan, and be sure to specify feet and inches (ie 22’-9”).
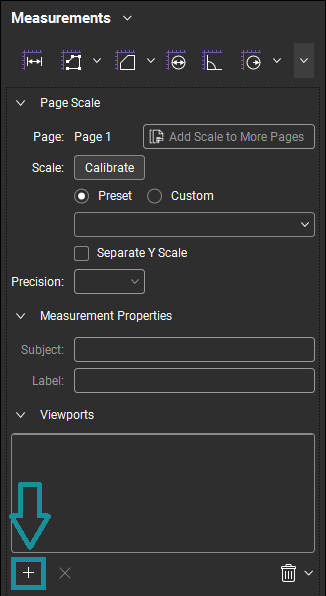
Setting Up Viewports
To setup viewports, click the little ![]() at the bottom of the Measurements
at the bottom of the Measurements ![]() menu. Then set the scale as described in the previous section.
menu. Then set the scale as described in the previous section.
In the GIF below, once I setup the scales, I’m using some tools from a scalable tool chest. These tools dynamically change to the correct size as long as there is a scale set. I’ll be doing a deeper dive on scalable tool chests in the future, so stay tuned.
Draw to Scale
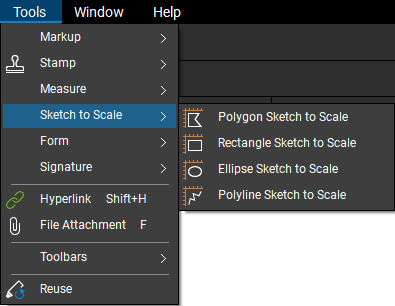
You can sketch to scale a couple different ways:
- Use the Sketch to Scale tools.
- Using the normally dimensioning tools and manually typing in the dimensions you need. Combine this with Snap to Content (see my post on Nifty Tools “Hidden” in the Status Bar) for extra precision.
Bonus Tip
If you use the Bluebeam plugin for either Revit or AutoCAD, the scales will automatically get embedded in the PDF, unlike if you just hit Print/Plot or CTRL+P. The tradeoff is that using the regular print method gives you hyperlinked sections on plan (ie click on a section cut and it takes you to the page), whereas the Revit/AutoCAD plugin does not have that functionality.
I’m not sure why this is. I asked Bluebeam support and they said it has something to do with Autodesk’s API, so it’s not something in Bluebeam’s control.
Conclusion
Bluebeam is specifically designed for the AEC industry. As a structural engineer, I use page scales daily. I hope these tips help you get more out of scales and dimensioning drawings.
If I left anything out or if you have any more questions, let me know in the comments here or on LinkedIn, Facebook, or Instagram. (LinkedIn is where I’m most active.)