Whether you’re a Bluebeam beginner or a seasoned expert, we all have gaps in our knowledge. Tuesday Tidbits will help you fill in those gaps. Every Tuesday, I’ll teach you simple techniques that you can learn in under 10 minutes and implement immediately to improve your workflow.
Intro
Computer screens these days are only getting larger. And yet, somehow, we keep running out of space. If you find yourself able to see less of your PDF because of menus crowding in from all sides, today’s tip is for you.
Dragging Menus
You might already know you can drag menus to different locations in the Bluebeam interface. For instance, I like to keep my Studio ![]() , Properties
, Properties ![]() , and Measurements
, and Measurements ![]() menus on the right side and everything else on the left. I do this by just click and dragging the menu icon to wherever I want it to be.
menus on the right side and everything else on the left. I do this by just click and dragging the menu icon to wherever I want it to be.
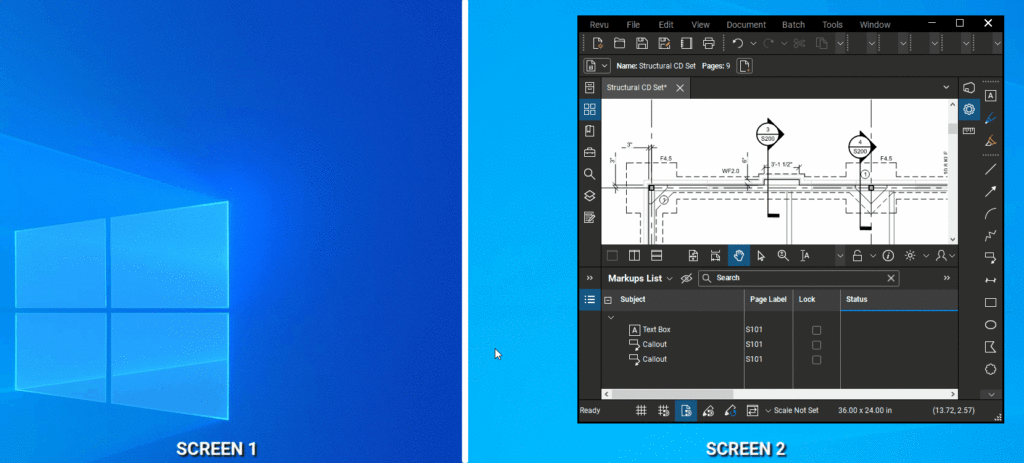
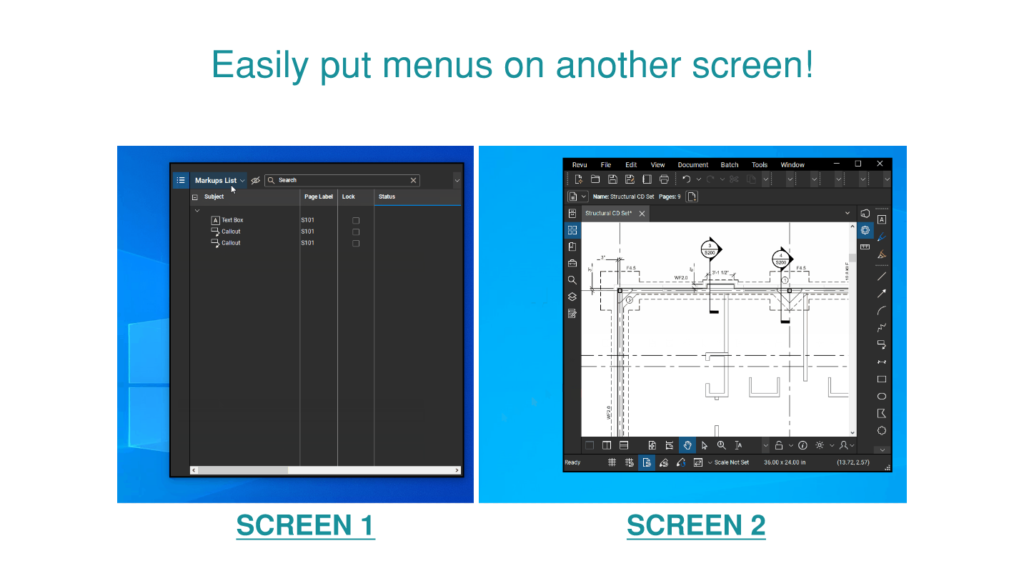
But did you know you don’t have to put it within any of the menu bars? You can actually drag it wherever you want, even if it that’s onto another screen.

Saving your Layout
Anytime you make a change to your layout in Bluebeam, that change will automatically be saved to your profile when you exit the program. Unless, of course, your company manages your profile for you. Then you can make any changes you want, but it’ll revert back to the company profile on the next open.
If you don’t want the menu off screen the next time you open Bluebeam (and you manage your own profile), just drag it back to where you usually keep it.
Conclusion
This tip blew my mind the first time I learned it. Like you, I just assumed you had to drag menus to another menu bar. I love the customizability and freedom Bluebeam offers to really make the software exactly what you need it to be. This is just one small tip, but I hope it makes a big difference the next time you find your PDF feeling a little too crowded.


What blew my mind Liz was being able to pull my markups list onto a separate screen! This gives you sooo much more real estate for looking at your drawing sheet.