Whether you’re a Bluebeam beginner or a seasoned expert, we all have gaps in our knowledge. Tuesday Tidbits will help you fill in those gaps. Every Tuesday, I’ll teach you simple techniques that you can learn in under 10 minutes and implement immediately to improve your workflow.
Intro
And here is a Bluebeam feature that needs no introduction… I mean, not because it’s infamous or anything, but because it’s really self-explanatory.
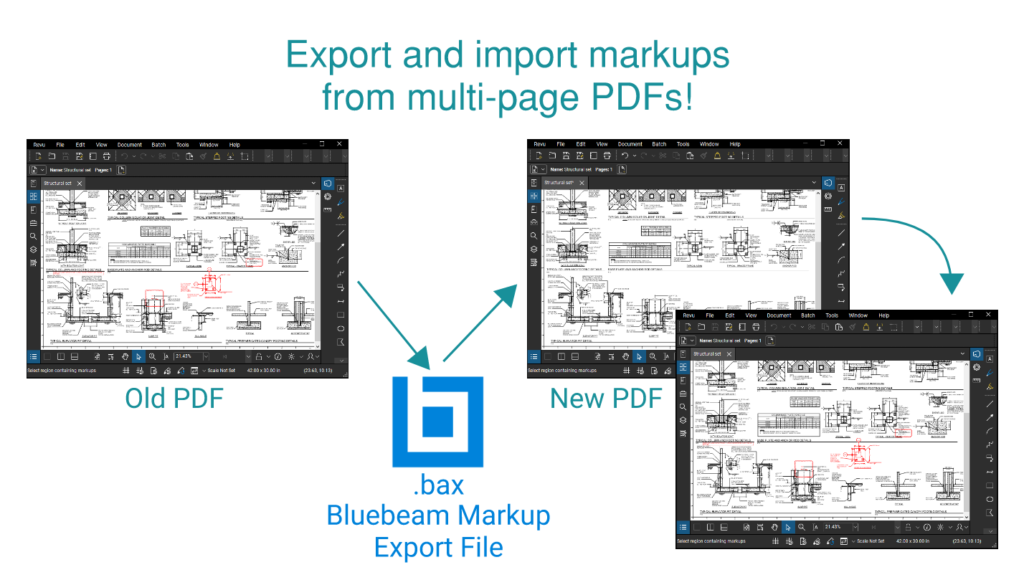
You can click a button to export all markups in a multi-page PDF. And then click another button to import those markups into a different PDF.
Exporting and Importing Markups
But first, some caveats. The original PDF and the new PDF must have the same page setup. This means the old and new PDF must:
- Have the same page size.
- Have the same number of pages.
- Markups cannot be imported or exported from session. You would have to do a Save As
 to save locally before using this feature.
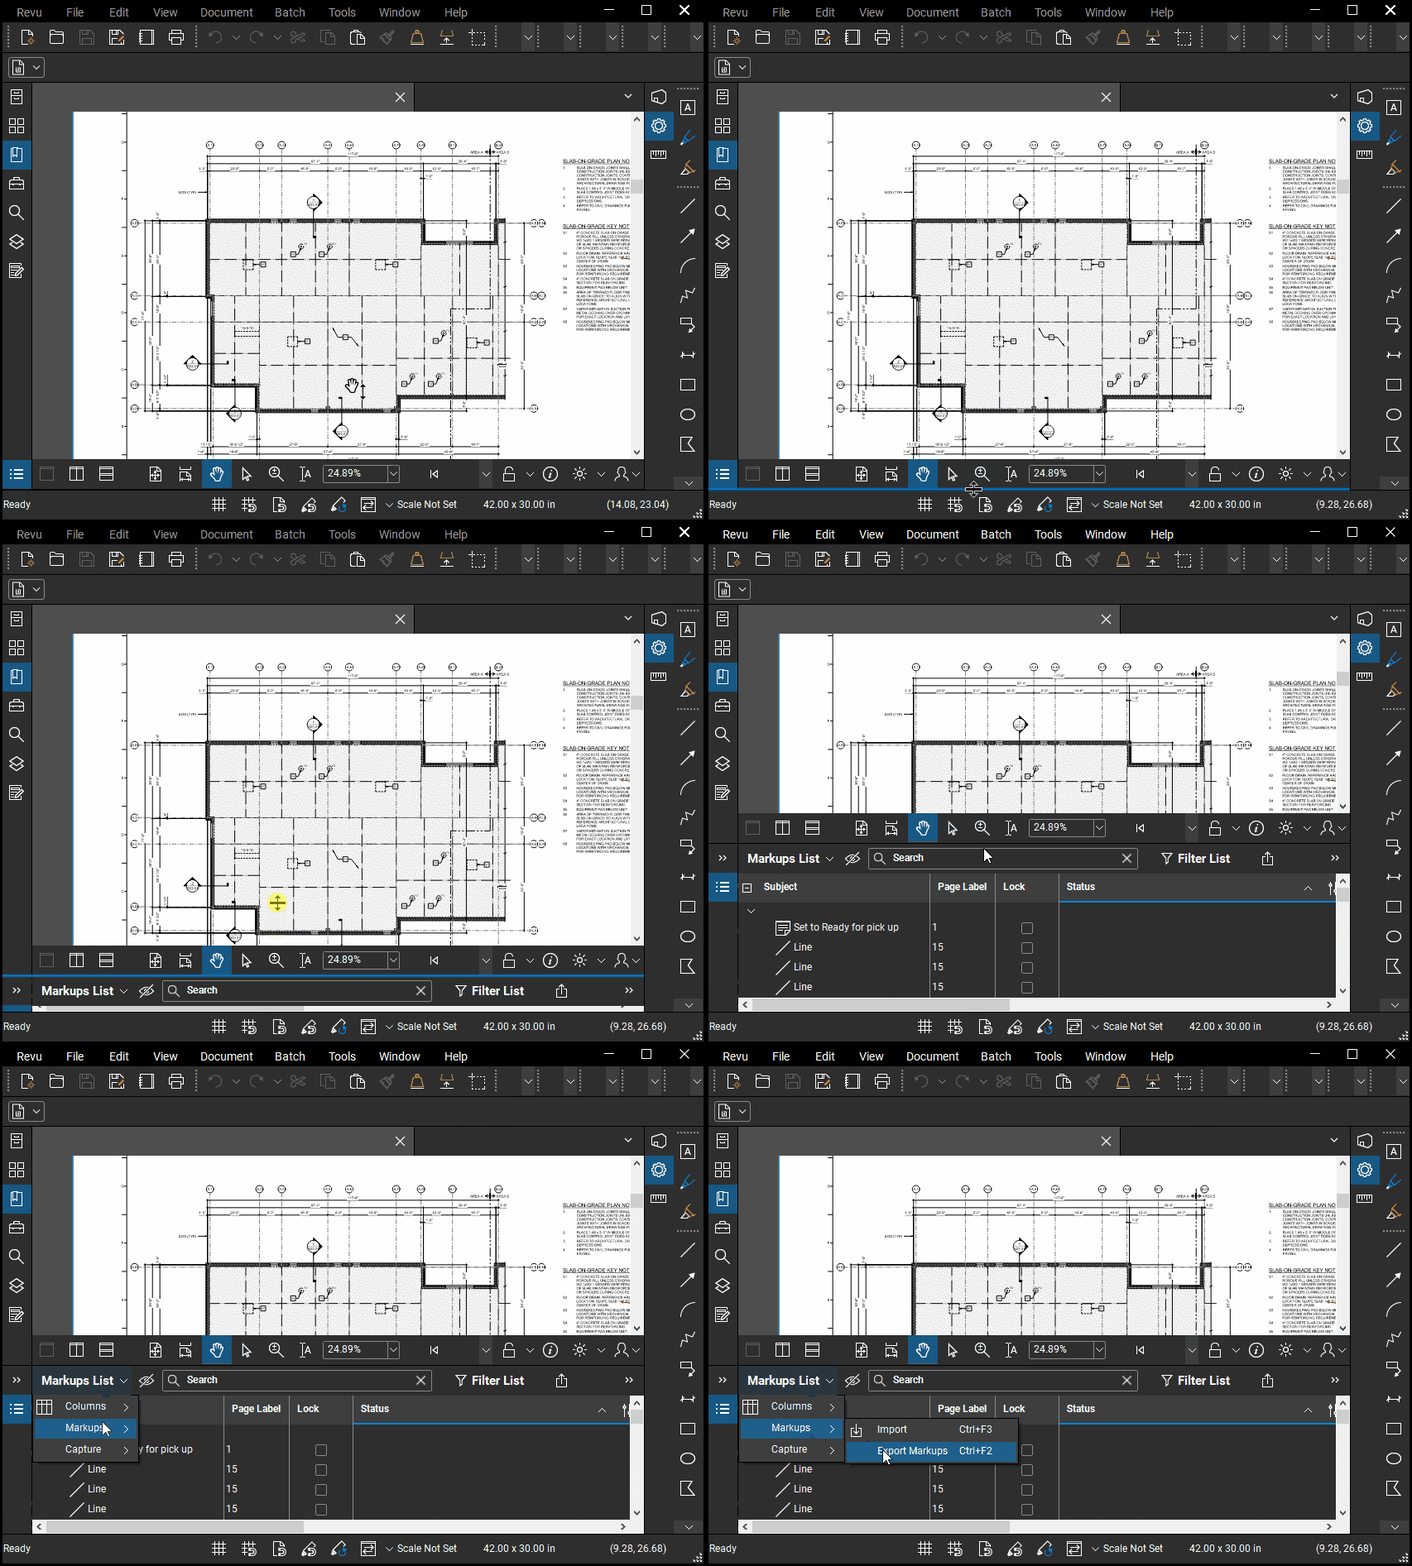
Both importing and exporting markups are done from the same menu, which you can find in the Markups List ![]() . By default, the Markups List is found at the bottom of the window.
. By default, the Markups List is found at the bottom of the window.
- Open the document you wish to export markups from or import markups to.
- Click on Markups List
 .
. - Select Markups.
- Click on either Import or Export Markups.
Obviously to import markups, someone must first export markups. This can be either you or someone else on your team.
Additionally, you can use the Filter List tool and then delete markups that aren’t needed before exporting them. You might want to do this if those markups have already been picked up.

Conclusion
I like to use this feature when a PDF in session has become cumbersome due to the sheer number of markups. Sometimes it’s just chaos, other times the session starts getting bogged down. Either way, the ability to export markups and import them into a fresh PDF is super handy.
How do you use this feature? Let me know in the comments!

