Whether you’re a Bluebeam beginner or a seasoned expert, we all have gaps in our knowledge. Tuesday Tidbits will help you fill in those gaps. Every Tuesday, I’ll teach you simple techniques that you can learn in under 10 minutes and implement immediately to improve your workflow.
Intro
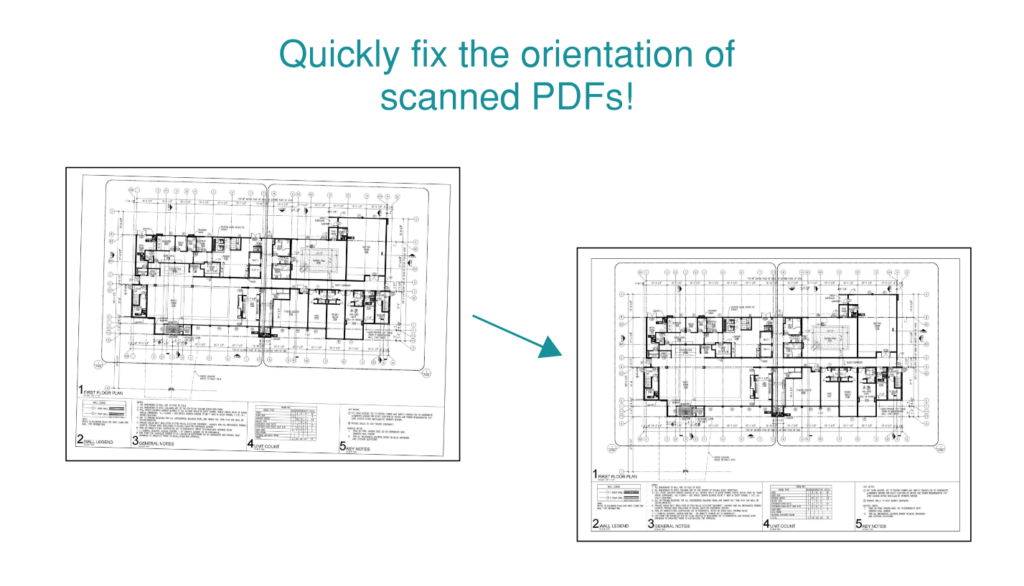
We’ve all been there. You receive a scanned PDF set of drawings and the paper clearly went into the scanner at a bad angle. It’s skewed a little bit, or a lot of bits, and it causes a little itch in the back of your mind. You try to ignore it, but it eats as you every time you look at these drawings. Three hours later your coworkers find you a drooling mess over in the corner.
No? Just me? Ok, cool.
All joking aside, sometimes you just need to straighten out that scan that isn’t quite right. Thankfully it’s super simple. Let’s get to it.
How to Deskew
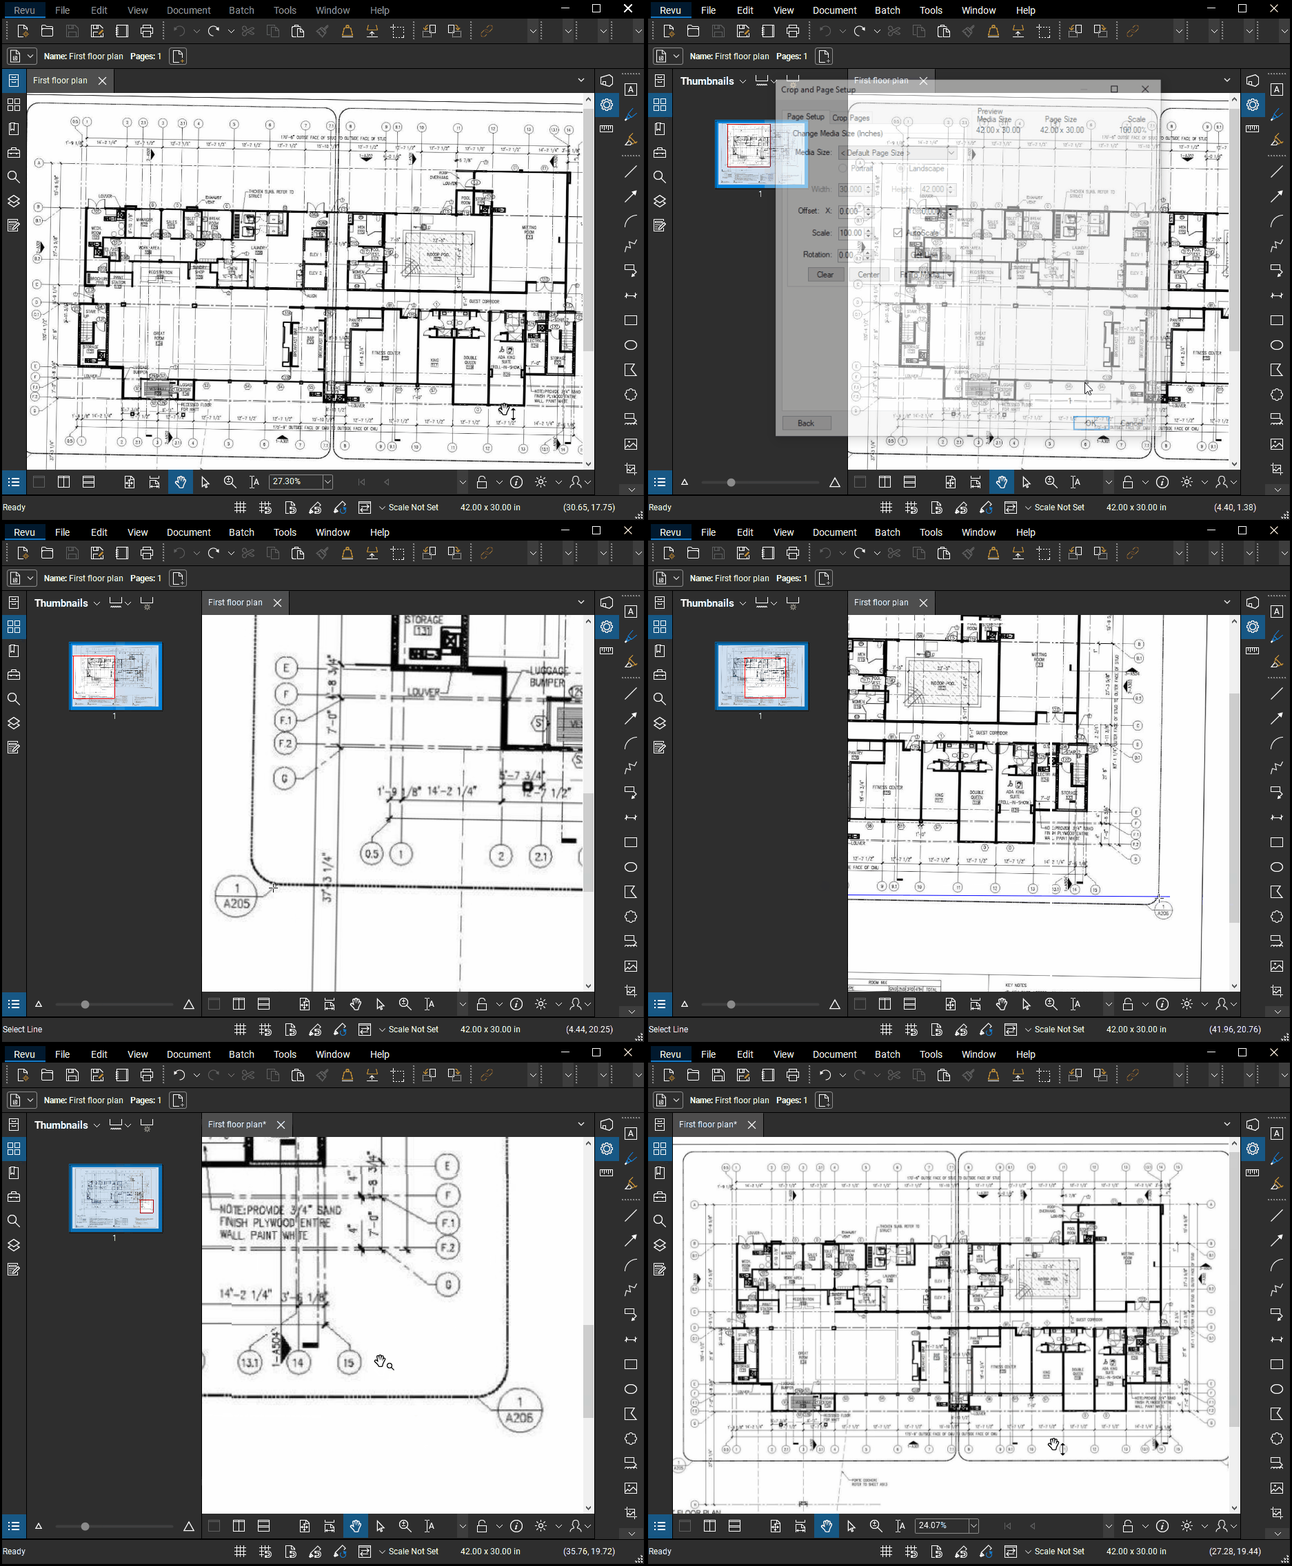
To deskew a PDF in Bluebeam, either:
Option 1
- Right-click on the page thumbnail
- Click Page Setup
- Select which page to deskew
- Click Next
- Click Get Line
- Click two points on the page that should be perfectly horizontal with each other.
Option 2
- Use keyboard shortcut CTRL+ALT+D
- Click two points on the page that should be perfectly horizontal with each other.
- Click Next
- Click OK.
Pro tip: choose two points as far apart as possible to increase accuracy.

Conclusion
And that’s it! Easy peasy. I hope this saves you from going crazy, because it’s definitely saved me!
Let me know in the comments or on social media if you already knew this one!


Definitely a new one for me Liz. I’ll tuck that away for when I need it for sure!
Revu will also do this automatically if you run OCR and check the box for “Correct Skew”. This is a great method for deskewing an entire document of scanned pages.
Thank you!