Whether you’re a Bluebeam beginner or a seasoned expert, we all have gaps in our knowledge. Tuesday Tidbits will help you fill in those gaps. Every Tuesday, I’ll teach you simple techniques that you can learn in under 10 minutes and implement immediately to improve your workflow.
Intro
Highlighting is an essential feature of marking up drawings. Unfortunately, it can sometimes be a little frustrating in Bluebeam… that is, until you read this post. Let’s get right into it.
Today we’ll go over 5 different methods to highlight text and objects within Bluebeam:
- Highlight tool – select text
- Highlight tool – freeform highlight
- Select text tool
- Search for words
- Using markup shapes
EDIT 2/2/2023: Don’t feel like reading? Watch the video here!
Some items to note:
- Whenever you highlight by selecting text directly, the highlight markup will be attached to the text. You cannot move or resize it. The only property you can change is the color.
- When highlighting using the freeform method or by using the markup method, the resulting markup is more customizable. You can move it and resize it according to your needs.
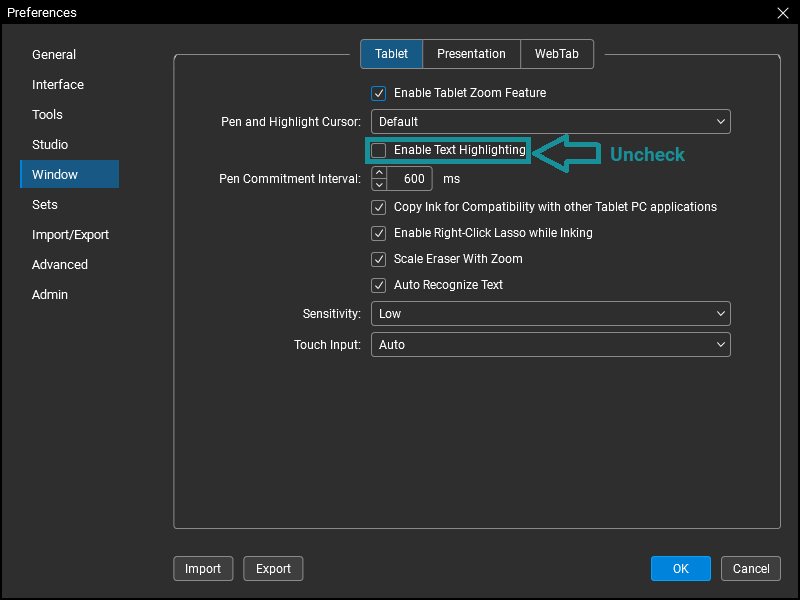
- You can change your default Highlight tool
 to use the freeform method in the preferences menu by clicking on Revu 🠖 Preferences 🠖 Window 🠖 Tablet and unchecking the box for Enable Text Highlighting:
Highlight Tool
The first, and most obvious, way to highlight stuff is the Highlight tool ![]() . In the default Bluebeam interface, it can be found in the upper righthand corner underneath the Textbox tool
. In the default Bluebeam interface, it can be found in the upper righthand corner underneath the Textbox tool ![]() . There are two different ways to use the Highlight tool
. There are two different ways to use the Highlight tool ![]() , either by selecting text directly or using it in freeform mode which is similar to the Pen tool
, either by selecting text directly or using it in freeform mode which is similar to the Pen tool ![]() .
.
Select Text
Select text is the default mode of the Highlight tool ![]() . If the Highlight tool
. If the Highlight tool ![]() detects the presence of text, the cursor will change to look like this
detects the presence of text, the cursor will change to look like this ![]() or if no text is detected it will look like this
or if no text is detected it will look like this ![]() .
.
When the Highlight tool ![]() is selected and the cursor looks like
is selected and the cursor looks like ![]() , you can highlight text by clicking and dragging, similar to what you would do in Microsoft Word. The resulting markup it attached to the selected text and cannot be moved or resized.
, you can highlight text by clicking and dragging, similar to what you would do in Microsoft Word. The resulting markup it attached to the selected text and cannot be moved or resized.

There’s an issue that can arise when using this method on drawings, however. When text is spread throughout the page or when text has unusual orientation, selecting text can be tricky. You’ll often highlight things you didn’t intend to. You only need to experience this a couple times to know exactly what I’m talking about. It can be really frustrating. Luckily, the remaining 4 methods do not suffer from this issue.
Freeform Highlight
Freeform highlight using the Highlight tool ![]() is similar to the Pen tool
is similar to the Pen tool ![]() . Simply hold down the CTRL key while using the Highlight tool
. Simply hold down the CTRL key while using the Highlight tool ![]() and you can freeform highlight whatever you like. The resulting markup can be resized and rotated.
and you can freeform highlight whatever you like. The resulting markup can be resized and rotated.
You can also use this method to highlight in perfectly straight horizontal or vertical lines by holding the CTRL+SHIFT keys at the same time.

As described above, you can set this as the default mode in the Preferences menu.
Select Text Tool
By default, the Select Text ![]() tool is found at the bottom of the window to the left of the page number, or with the keyboard shortcut Shift+T. If text is detected, the cursor will look like this
tool is found at the bottom of the window to the left of the page number, or with the keyboard shortcut Shift+T. If text is detected, the cursor will look like this ![]() . If text is not detected, the cursor will look like this
. If text is not detected, the cursor will look like this ![]() .
.
Similar to the Highlight tool ![]() , you can force a “freeform” text selection by holding CTRL and click dragging a rectangle around the text you’d like to highlight. Then right-click on the selected text and click Highlight Selected Text.
, you can force a “freeform” text selection by holding CTRL and click dragging a rectangle around the text you’d like to highlight. Then right-click on the selected text and click Highlight Selected Text.

Similar to the Highlight Text – Select Text method, the resulting markup is attached to the text and cannot be moved or resized.
Search for Words
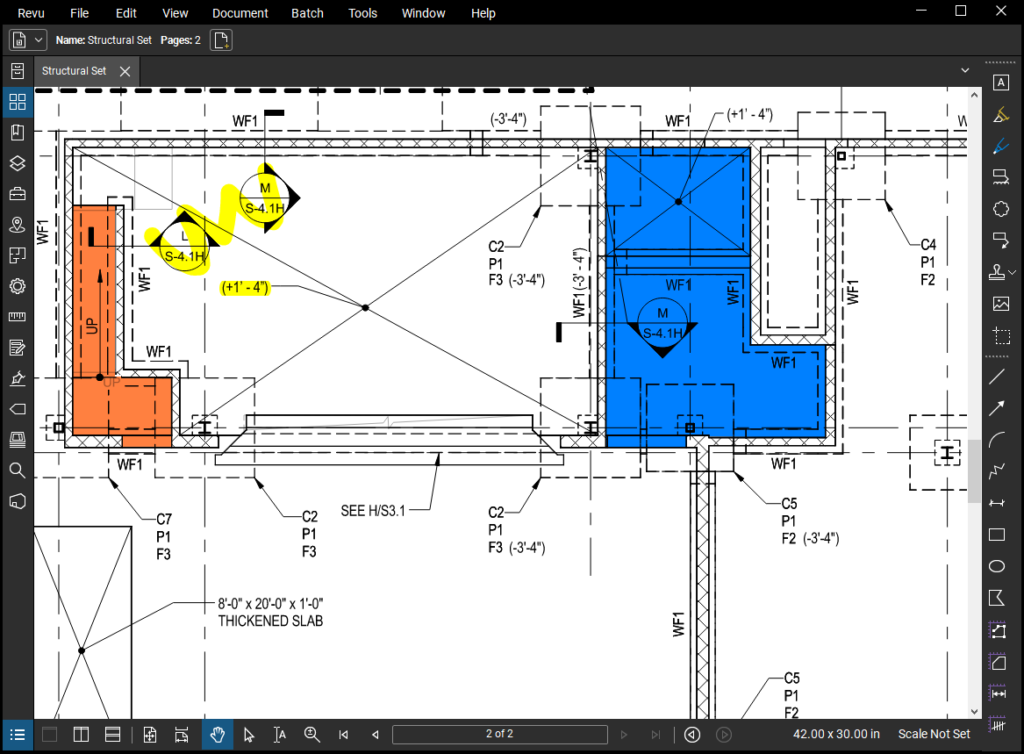
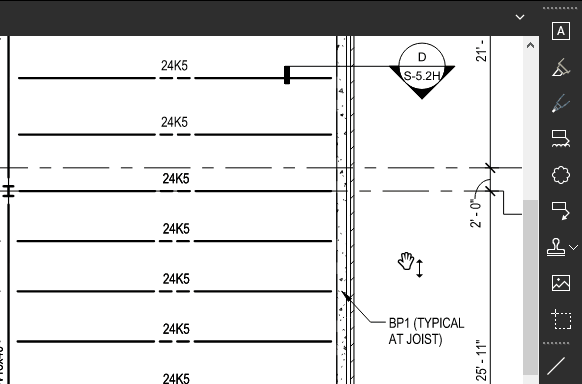
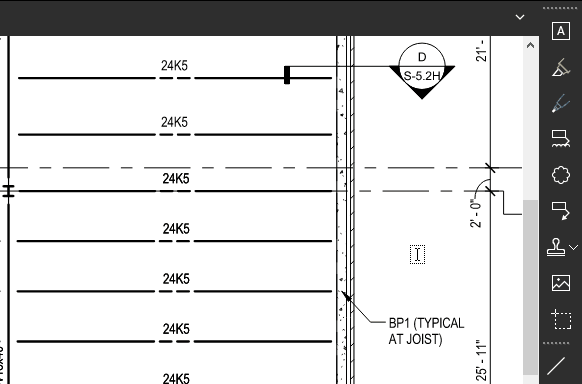
Did you know you can highlight search results within Bluebeam? In particular, I use this method when I’m checking joist shop drawings or when I’m having a hard time finding the text I searched for on a crowded drawing.
In your search results list, select the results you’d like to highlight, right-click, and select Highlight.
Similar to the Highlight Text – Select Text and Select Text Tool methods, the resulting markup is attached to the text and cannot be moved or resized.
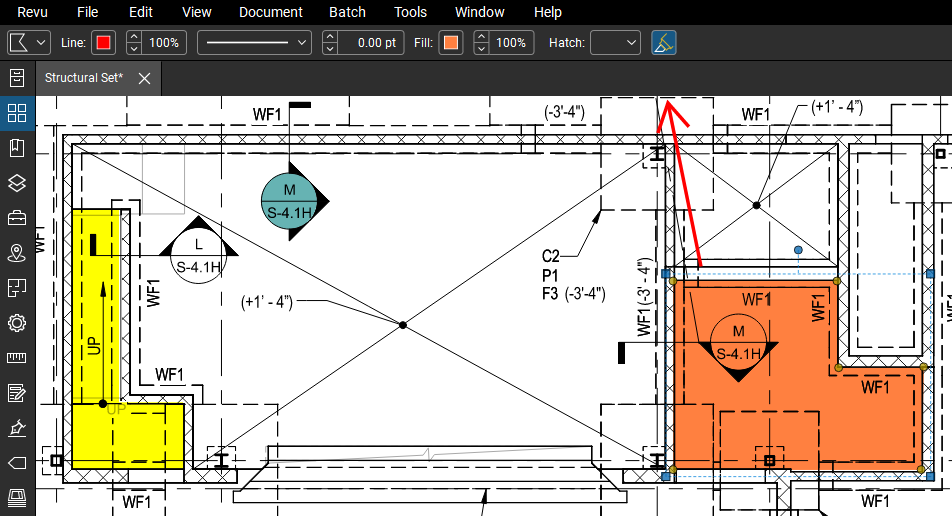
Using Markup Shapes
You can also highlight using any of the following markups:
• Line ![]()
• Arrow ![]()
• Arch ![]()
• Polyline ![]()
• Rectangle ![]()
• Ellipse ![]()
• Polygon ![]()
Draw the desired shape, select the markup, choose a fill color if using an enclosed shape (![]()

![]() ) and toggle the Highlight
) and toggle the Highlight ![]() option in the markup properties.
option in the markup properties.
Conclusion
So what do you think? Did I miss anything? Did you learn something new? Let me know in the comments!
Hey Liz, This is really incredible. This needs to be required reading for everyone who uses Bluebeam. I had a question… do you recommend running with freeform highlighting most of the time, or only when needed?
Also, I could not get Markup Shapes to work. I tried two different ways. Select shape (rectangle) toggle on the highlight and then draw the shape. Or draw the shape first, then toggle on the highlight. Neither inserted the highlighting. What do you think I’m doing wrong?
Dave
Using freeform highlighting is really personal preference. I know some people who hate selecting text with the Highlight Tool so much, they turned that feature off altogether. Others don’t mind holding down the CTRL button to freeform highlight when necessary. The main difference between freeform and selecting text is that freeform highlighting is not attached to your text, which might be important depending on what your doing.
And I left out a key step when highlighting by markup shapes! Along with toggling highlighting on, you have to pick a fill color. You can find it a little bit to the left of the highlight toggle. Thanks for reading so thoroughly and catching that! I’ve updated the post for future readers.
Liz, very easy to follow. Thanks for doing this. Question: what is the advantage to selecting text vs free-form? Is it just the “clean” nature of the lines?
When you highlight by selecting the text, the highlight actually is “stuck” to the text and can’t be relocated. You might want to do this to prevent someone from accidentally moving a highlight, which is possible if it’s a freeform highlight.
The other advantage of selecting the text is that your highlight markup will add the text to the “Comments” column in your markups list. Freeform highlighting will leave the “Comments” column blank.
That’s a great point that I didn’t even think about. One of the features that sets Bluebeam apart from other PDF software is its ability to display, sort, and filter information in the markups list. It’s a powerful tool and underutilized, I think.
Oooooo…. I did not know this one!
Hi Liz, thank you for breaking all of this down.
I’m wondering if you know how I can adjust the width of the highlighting. I’ve looked everywhere and can’t find the setting or option to adjust. The highlighting is too wide and spills over to the lines above and below. It’s driving me bananas!
Thank you in advance!
Using the poly line and converting it into highlighted line, when it prints is too dark, before I didn’t have that issue till now.
Is there s function to be turned on or off to continue using the highlighted lines as before?
Thank you for your help